How to Replace Bag in a Bag Filter Housing
-
Before installing a liquid filter bag (especially non-woven types), confirm that the treated (smooth) side of the filter fabric faces outward, while the fibrous (fuzzy) side faces inward. Be sure to remove the label from the bag.
-
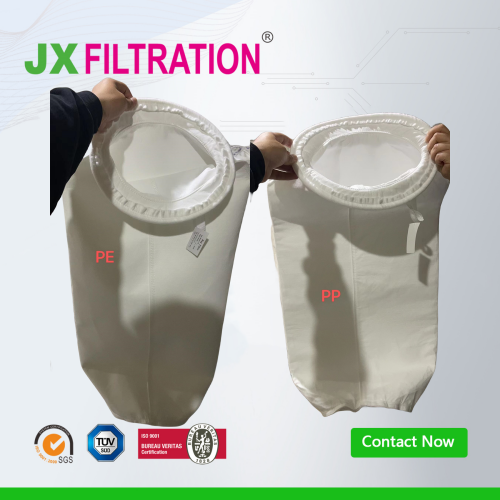
Pre-wet the filter bag: Since PP (polypropylene) or PE (polyester) materials have low hydrophilicity, the filter bag must be soaked for several minutes in a pre-wetting liquid compatible with the liquid to be filtered before use.
-
Fully unfold the filter bag and carefully place it into the housing until it is in contact with the inner wall of the support basket.
-
Ensure that the steel or plastic ring at the top of the bag fits snugly into the housing.
-
Close the lid and tighten the bolts. When operating, partially open the inlet valve to allow the liquid to enter the filter bag slowly. Once the filter bag is fully filled, open the valve completely.
Recommended Filter Bag Micron Ratings:
-
To remove visible particles, use filter bags rated at 20 or 25 microns.
-
To remove cloudiness or haze in liquids, use filter bags rated at 1 or 5 microns.
It is recommended to install pressure gauges at the inlet and outlet of the filter housing. When the pressure differential reaches 0.15 MPa, it is advisable to replace the filter bag (as there is a risk of rupture at this point). The maximum allowable pressure difference should not exceed 0.25 MPa.
Note: These pressure values are based on room temperature. If the liquid temperature is high, the pressure resistance of the filter bag may decrease accordingly. You may also choose to replace the bag earlier depending on your filtration requirements.

Any Requirements, Contact Us Now!
Kris
Email/Teams: kris@filtrationchina.com
Mobile/Whatsapp/Wechat: +86 18980776200